When your LED lights start flickering or they just won’t turn on, it can be really frustrating. Instead of buying a whole new set of lights, you can try to re stick the old ones. In this guide, we will walk you through the process of how to re stick LED lights and offer some tips that may help make the process easier for you.
- Types of LED strips
- How to Remove LED Lights Strips and don’t Damaging a Wall
- Glue for Re Sticking LED Light Strips
- How to Re Stick LED Lights: A Guide and Useful Tips
- Re stick LED Light Strips Using 3M Adhesive
- Re stick LED Light Strips Using Hot Glue
- Re stick LED Light Strips Using Mounting Putty
- Re stick LED Light Strips Using Silicone Adhesive
- Re stick LED Light Strips Using Super Glue
- Re stick LED Light Strips Using Epoxy
- Re stick LED Light Strips Using E600
- How to Re Stick LED Lights: Personal User Experience
Types of LED strips
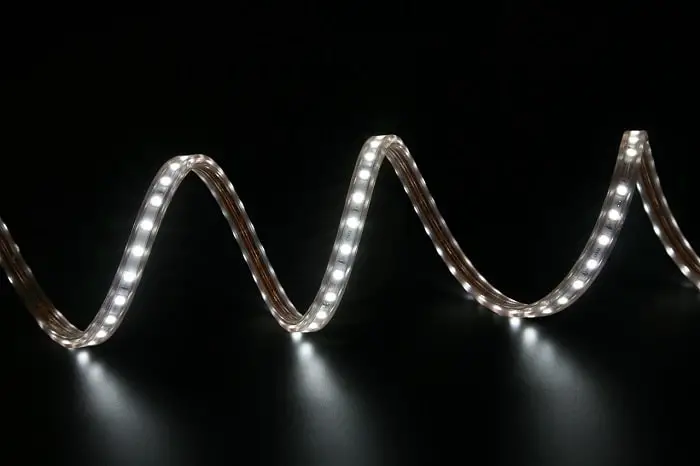
There are two main types of LED strips: rigid and flexible.
- Rigid strips are great for straight lines or areas where you need a lot of light, but they can be difficult to work with if you don’t have a lot of experience.
- Flexible strips are more versatile and easier to work with, but they may not provide as much light as rigid strips.
How to Remove LED Lights Strips and don’t Damaging a Wall
Before you start, you’ll need to remove the old LED light strip from the wall. To do this, gently peel back the strip until it comes off. If the strip is difficult to remove, you can use a hairdryer on low heat to loosen the adhesive. Once the strip is removed, be careful not to damage the wall as you will need to re stick the lights in the same or other spot.
Glue for Re Sticking LED Light Strips
You can use different types of glue to re stick your LED light strips, for example:
- 3M Adhesive is a perfect solution for when you need something stronger than standard tape and can’t quite get enough distance between yourself or objects.
- Hot glue is a quick and easy way of getting your strips in place. Simply heat up some of this amazing stuff, then use it as an adhesive for sticking them on!
- Mounting putty is the perfect solution for those who want to install light strips on their walls that have texture. It’s also great if you need a temporary fix because it can be removed easily after installation!
- Silicone adhesive is a great way to stick down lights on any flat surface, but it’s not so good for other surfaces like ceilings.
- Super glue is a great option for those who need something simple and fast-drying. This type of superglue isn’t powerful, but it does have some advantages that make up for its lack in holding power on certain surfaces like wood or metal.”
- Epoxy is a strong adhesive that will hold the light strip down, but it takes much longer to harden than 3M adhesives do.
- E6000 is a slow-hardening adhesive that can be used for sticking strips into awkward positions or on surfaces that are not flat.
How to Re Stick LED Lights
With the help of some adhesive, you can easily re-stick your LED strip light in any desired location. This will make sure that it doesn’t come off again! Now that you know what type of adhesive to use, it’s time to learn how to re stick LED lights. Each type of glue requires different manipulations and certain steps.
Re stick LED Light Strips Using 3M Adhesive
If you are using the stronger adhesive, such as the three-M adhesive, then you will need to take some different steps.
- You should start by measuring how much of the strip you need and cutting it to size. Once this is done, apply the adhesive to both the wall and the back of the LED strip.
- Make sure that you leave enough time for the glue to dry before proceeding to the next step!
- After the glue has dried, gently peel off the backing of the LED strip and apply it to your desired location on the wall.
Press down firmly on all parts of the strip so that it will adhere properly. If necessary, use a hairdryer on low heat to help activate adhesion.
Re stick LED Light Strips Using Hot Glue
If you are using hot glue, the process is much simpler.
- All you need to do is apply a generous amount of glue to the back of the LED strip and then press it firmly into place on the wall.
- The hot glue will dry quickly, so you don’t need to wait long before proceeding to the next step!
- Once the glue has dried, peel off the backing of the LED strip and apply it to your desired location on the wall.
Place the strips on top of each other, matching up the edges. While pressing down firmly on all sections of the strip, ensure that it is properly adhered. If required, utilize a hairdryer at low temperature to assist with activation.
Re stick LED Light Strips Using Mounting Putty
Mounting putty is a great option for those who want to install light strips on their walls that have texture. It’s also great if you need a temporary fix because it can be removed easily after installation!
- To use mounting putty, simply take a small amount and press it firmly into place on the back of the LED strip.
- Place the LED strip on top of each other, aligning them together, and then peel off the backing.
The putty should glue to the surface. Firmly press down until the putty adheres well.
Re stick LED Light Strips Using Silicone Adhesive
Silicone adhesive is a great way to stick down lights on any flat surface, but it’s not so good for other surfaces like ceilings.
- To use silicone adhesive, simply apply a generous amount to the back of the LED strip and then press it firmly into place on the wall.
- The silicone will dry quickly, so you don’t need to wait long before proceeding to the next step!
- After the adhesive has had time to cure, remove the backing from the LED strip and stick it to your desired location on the wall.
Make sure to press down firmly on all portions of the strip to ensure an effective bond. If required, utilize a hairdryer at low heat to assist with adhesion activation.
Re stick LED Light Strips Using Super Glue
Super glue is a great option for those who need something simple and fast-drying. This type of superglue isn’t powerful, but it does have some holding power.
- To use super glue, simply apply a small amount to the back of the LED strip and then press it firmly into place on the wall.
- The super glue will dry quickly, so you don’t need to wait long before proceeding to the next step!
- After the glue has dried, remove the backing from the LED strip and stick it to the wall where you want it.
- Place the strip on a flat surface, smooth side up. With your fingertips, press down firmly on all portions of the strip to ensure that it adheres well.
Allow ample drying time after applying the paint. If necessary, place a hair dryer on low heat to assist in adhesion activation.
Re stick LED Light Strips Using Epoxy

Epoxy is a great way to stick down lights on any flat surface, but it’s not so good for other surfaces like ceilings.
- To use epoxy, simply apply a generous amount to the back of the LED strip and then press it firmly into place on the wall.
- The epoxy will dry quickly, so you don’t need to wait long before proceeding to the next step!
- After the glue has dried, remove the backing from the LED strip and place it on the desired area of the wall.
- With the proper adhesive, your strip will be lightweight, flexible and waterproof. Make sure the strip is firmly pressed down on all portions to guarantee adhesion.
If necessary, use a hairdryer on low heat to help activate adhesion.
Re stick LED Light Strips Using E600
E600 adhesive is a great way to stick down lights on any flat surface, but it’s not so good for other surfaces like ceilings.
- To use E600 adhesive, simply apply a generous amount to the back of the LED strip and then press it firmly into place on the wall.
- The adhesive will dry quickly, so you don’t need to wait long before proceeding to the next step!
- Remove the backing from the LED strip and place it on your chosen area on the wall once the glue has dried.
To ensure that the strip adheres properly, press down firmly on all portions of it. If necessary, apply a hairdryer on low setting to assist with adhesion activation.
How to Re Attach LED Lights: Personal User Experience
Clifford Watts
I was really excited to finally hang up my new LED lights. I had just moved into a new apartment and was starting to make it feel like home. I went to the store and bought a pack of 3M Command poster hanger adhesive tabs and a pack of Command flat cord clips.
I got home and started to hang up my LED lights. The adhesive tabs were really easy to use, and they stuck well. The only problem was that the adhesive was really messy, and it was a pain to clean off the wall when I was done.
The cord clips were also easy to use, but they left little holes in the wall where the screws went in. Overall, I was happy with how well the 3M Command products worked.
Beverly Hall
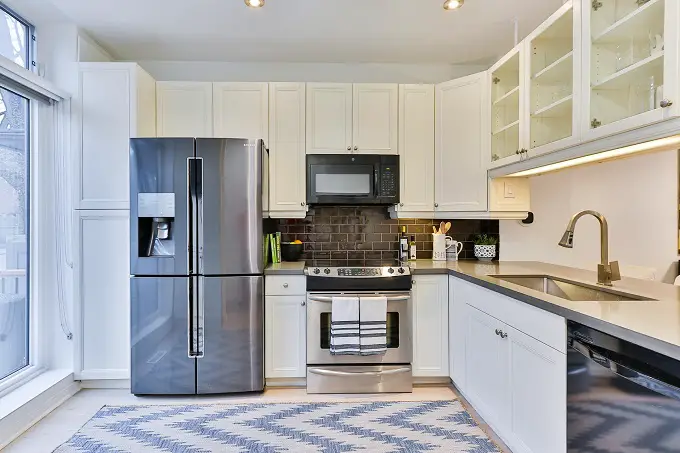
I was in the kitchen, getting a drink of water when I happened to glance up at the light strip. To my horror, I realized that it had fallen down from the cabinet! I raced over to try to fix it, but it was too late. The adhesive had failed and the light strip was now lying in a crumpled heap on the floor.
I tried to salvage as much of it as I could, but it was completely ruined. I was so disappointed, not only did I have to go out and buy a new light strip, but I also had to reattach it using adhesive this time. Hopefully, this one will stay up for longer!